Landing Page & Discovery
The Discover page is your entry point to exploring and finding communities on Clases.community. You can browse all available communities, search for specific topics, and filter by category or language—all without needing to create an account.
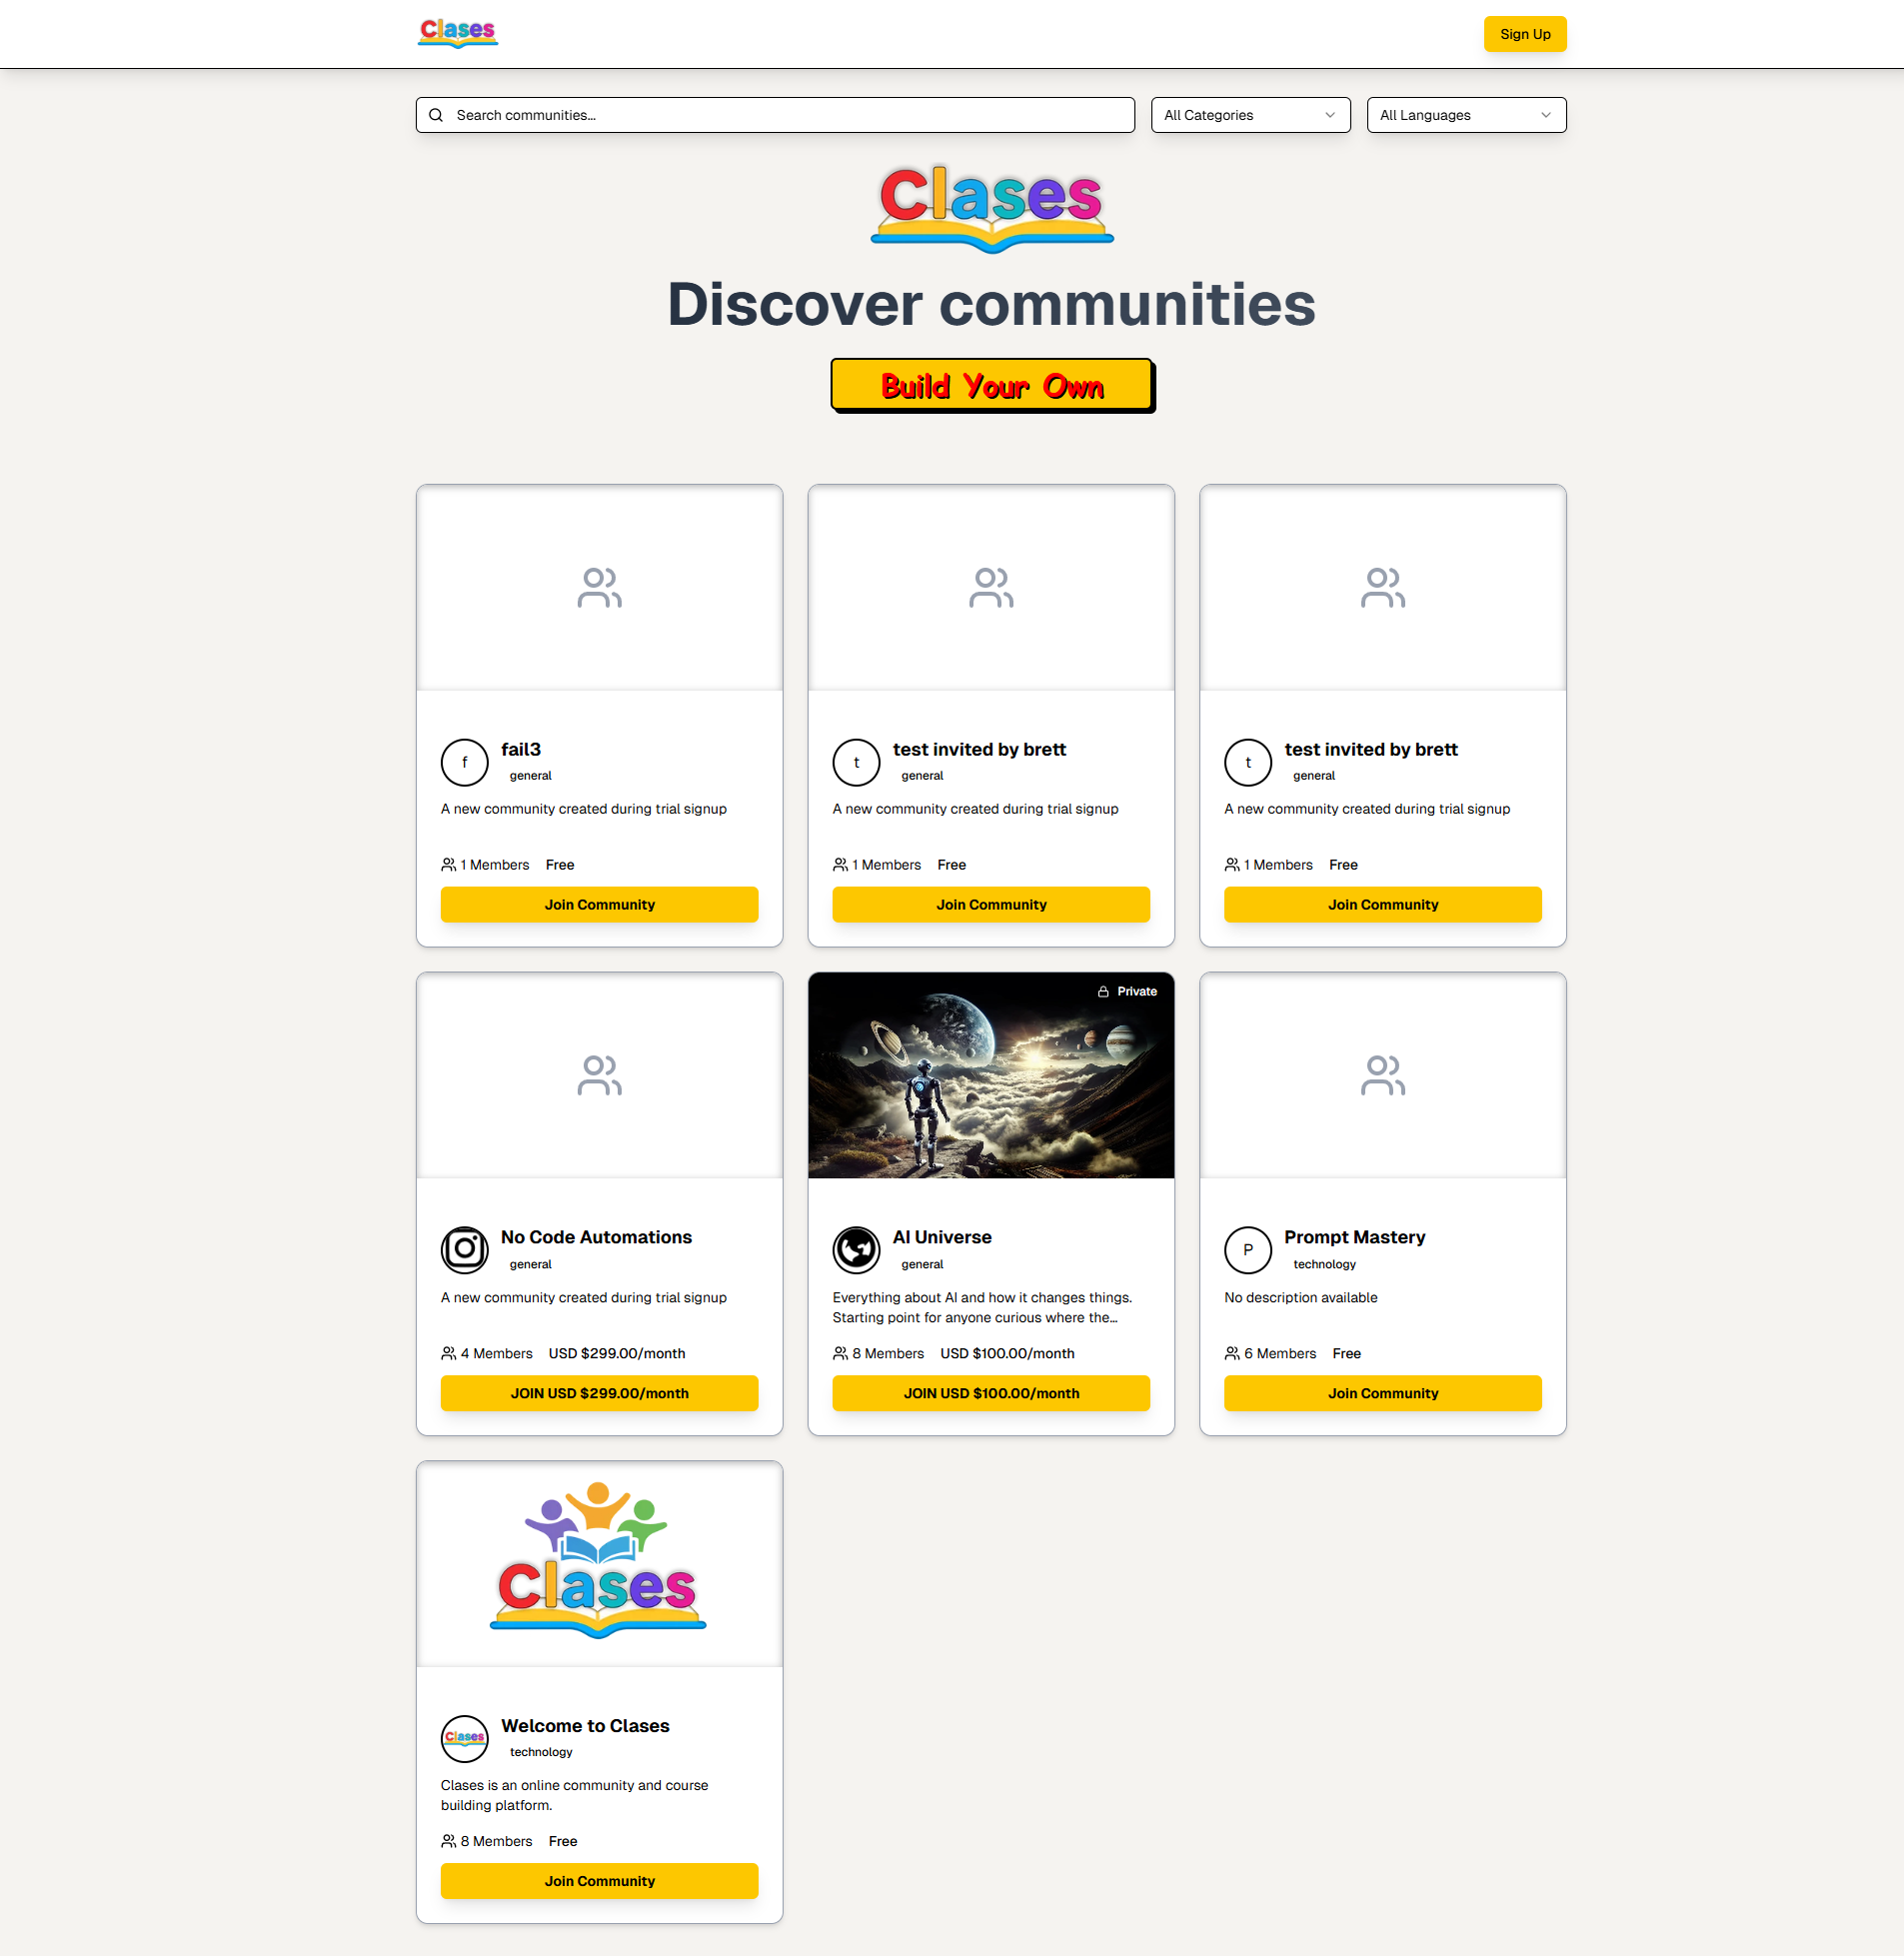
Understanding the Page Layout
Top Header Navigation:
-
Clases Logo (Top Left): Click to return to the home/
discover page from anywhere on the site -
Search Bar (Center): Type keywords to search for communities by name, description, or topics
- Tip: Try searching for topics like "AI", "programming", "design", or specific community names
-
Category Filter (Dropdown): Filter communities by category
-
Options include: "All Categories", "technology", "general", "business", "education", and more
-
Example: Select "technology" to see only tech-related communities
-
-
Language Filter (Dropdown): Filter communities by primary language
- Useful if you prefer communities in a specific language
-
Sign Up Button (Top Right): Yellow button to create a new account
- Note: You can browse communities without an account, but you'll need to sign up to join
Main Content Area:
-
Page Title: "Discover communities" - indicates you're on the discovery page
-
Build Your Own Button:
-
Large yellow button to create your own community
-
Requires: You must be logged in to create a community
-
What happens: Takes you to the community creation wizard
-
-
Community Cards Grid:
-
Displays all available communities in an easy-to-browse card layout
-
Cards are arranged in a responsive grid that adapts to your screen size
-
Understanding Community Cards
Each community card provides key information at a glance:
-
Community Image/
Icon: -
Visual representation of the community
-
Helps you quickly identify communities
-
Tip: Look for communities with engaging visuals that match your interests
-
-
Community Name:
-
The official name of the community
-
Usually descriptive of the community's focus
-
Example: "AI Universe", "No Code Automations", "Prompt Mastery"
-
-
Category Badge:
-
Small colored badge showing the category
-
Categories include: "general", "technology", "business", etc.
-
Helps you quickly identify the type of community
-
-
Description:
-
Brief 1-2 sentence overview of what the community offers
-
Read this to understand if the community matches your interests
-
Example: "Learn AI agents and automation tools for beginners and experts"
-
-
Member Count:
-
Shows how many people are already members
-
Example: "8 Members" or "156 Members"
-
Tip: Larger communities may have more activity, but smaller ones can be more intimate
-
-
Pricing Information:
-
"Free": Public community, no cost to join
-
"USD $XX.XX/
month": Paid/ private community with monthly subscription -
Important: Paid communities require a payment method to join
-
-
Privacy Badge:
-
"Private" badge appears on private/
paid communities -
Private communities require approval or payment to join
-
Public communities are open to everyone
-
-
Join Button:
-
Yellow button to join the community
-
If not logged in: You'll be redirected to the login/
signup page -
If logged in: Clicking joins you immediately (for free communities) or takes you to payment (for paid communities)
-
Step-by-Step: Finding and Joining a Community
Method 1: Browse and Explore
-
Scroll through the community cards on the Discover page
-
Read descriptions to find communities that interest you
-
Click on a community card to view its About page (see Group About Page)
-
Review the community details, features, and owner information
-
Click "Join" button if you want to become a member
Method 2: Search for Specific Communities
-
Click in the search bar at the top of the page
-
Type keywords related to your interests (e.g., "AI", "design", "coding")
-
Press Enter or click the search icon
-
Browse the search results
-
Click on any community card to view details
-
Click "Join" to become a member
Method 3: Filter by Category
-
Click the "Category" dropdown in the header
-
Select a category that interests you (e.g., "technology", "business")
-
The page will refresh showing only communities in that category
-
Browse the filtered results
-
Click on communities that interest you
-
Join communities that match your interests
Method 4: Filter by Language
-
Click the "Language" dropdown in the header
-
Select your preferred language
-
View communities that primarily use that language
-
This is especially useful for non-English speakers
Tips for Discovering Communities
✅ Best Practices:
-
Start Broad: Browse all categories first to get a sense of what's available
-
Read Descriptions: Don't just look at names—read the full description to understand what each community offers
-
Check Member Count: Larger communities often have more activity, but smaller ones can offer more personal connections
-
Review Pricing: Understand whether a community is free or paid before joining
-
Visit the About Page: Click on community cards to see detailed information before joining
⚠️ Things to Consider:
-
Free vs. Paid: Free communities are open to everyone, while paid communities require a subscription
-
Activity Level: Check member counts and recent activity to gauge how active a community is
-
Your Interests: Join communities that genuinely interest you to get the most value
-
Time Commitment: Consider how many communities you can actively participate in
What Happens When You Join
When you click "Join" on a community:
-
Free Communities:
-
You're immediately added as a member
-
You gain access to all community features
-
You can start posting, taking courses, and participating immediately
-
-
Paid Communities:
-
You'll be redirected to a payment page
-
Enter your payment information
-
Once payment is confirmed, you're added as a member
-
You'll receive access to all premium content
-
-
After Joining:
-
The community appears in your Dashboard
-
You'll receive notifications (based on your settings)
-
You can start engaging with the community right away
-